

The Shape-Shifter of AWS: Transforming Data in the Blink of an Eye with S3 Object Lambda
By Omshree Butani / Jun 30, 2023
"With S3 Object Lambda, data becomes a canvas and code becomes a brush, allowing you to paint masterpieces of transformation."
Let me take you to the exciting voyage of s3 Object Lambda where the boundaries of data processing are shattered, and a new era of customization begins. Step into a world where objects stored in the ethereal cloud take on new forms, effortlessly molded by the magic of custom code and real-time processing. S3 Object Lambda, a feature of Amazon Web Services, empowers developers to rewrite the rules of data manipulation, transcending the constraints of traditional storage. In this blog post, we will explore the concept of S3 Object Lambda and delve into its capabilities through an insightful demo. Buckle up, for the journey ahead promises to reshape the very fabric of your digital uni verse.
Table of Contents
- What is S3 Object Lambda?
- Use Cases for S3 Object Lambda
- How It Works
- Prerequisites
- AWS Services Used
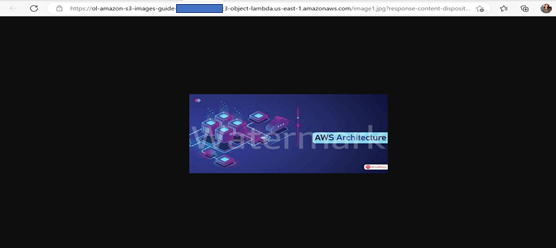
- Demo Result
- Benefits
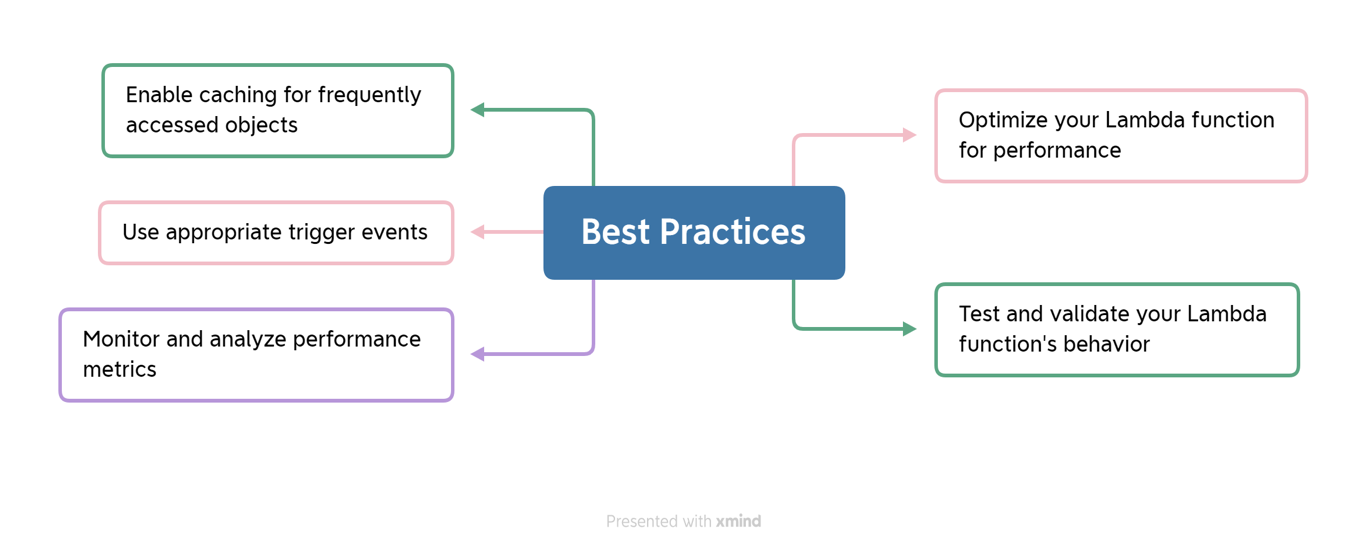
- Best Practices while using S3 Object Lambda
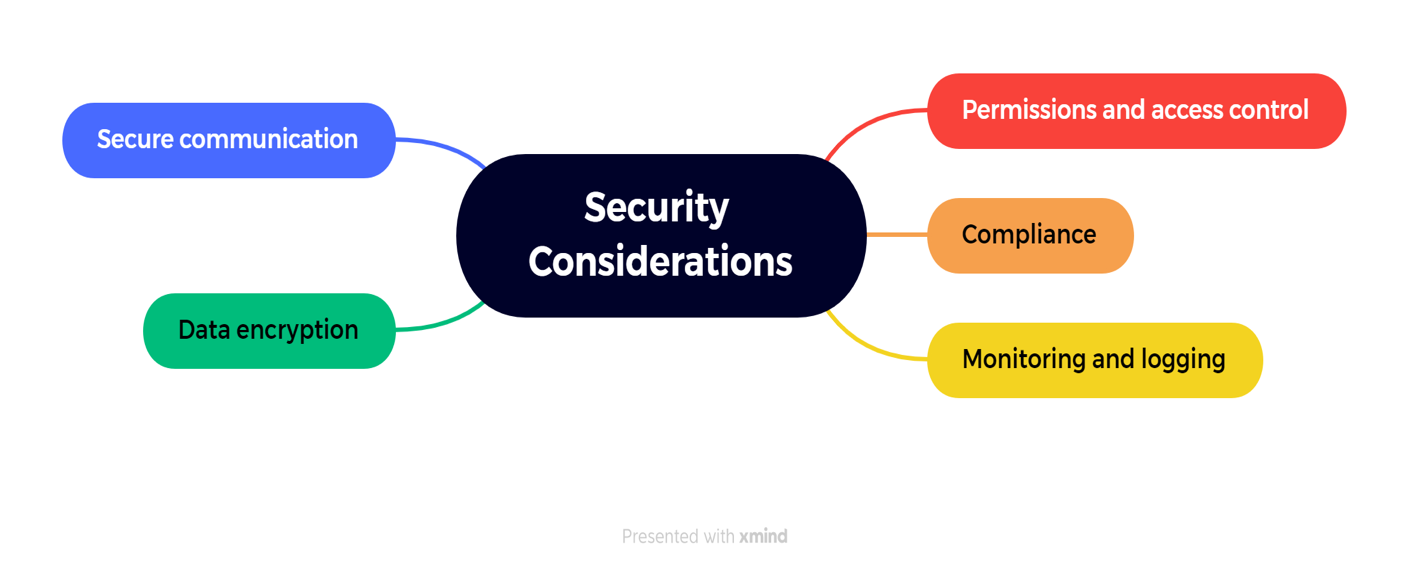
- Security Considerations while using amazon s3 object lambda
- S3 Object Lambda pricing
- Resource Clean up
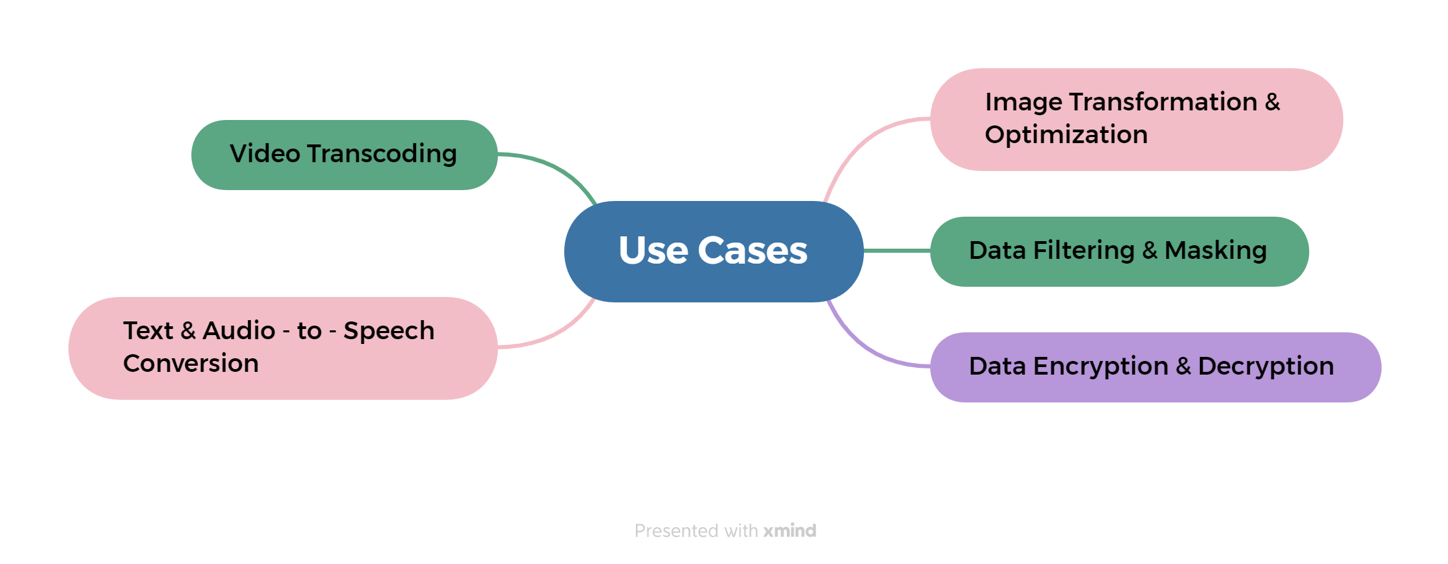
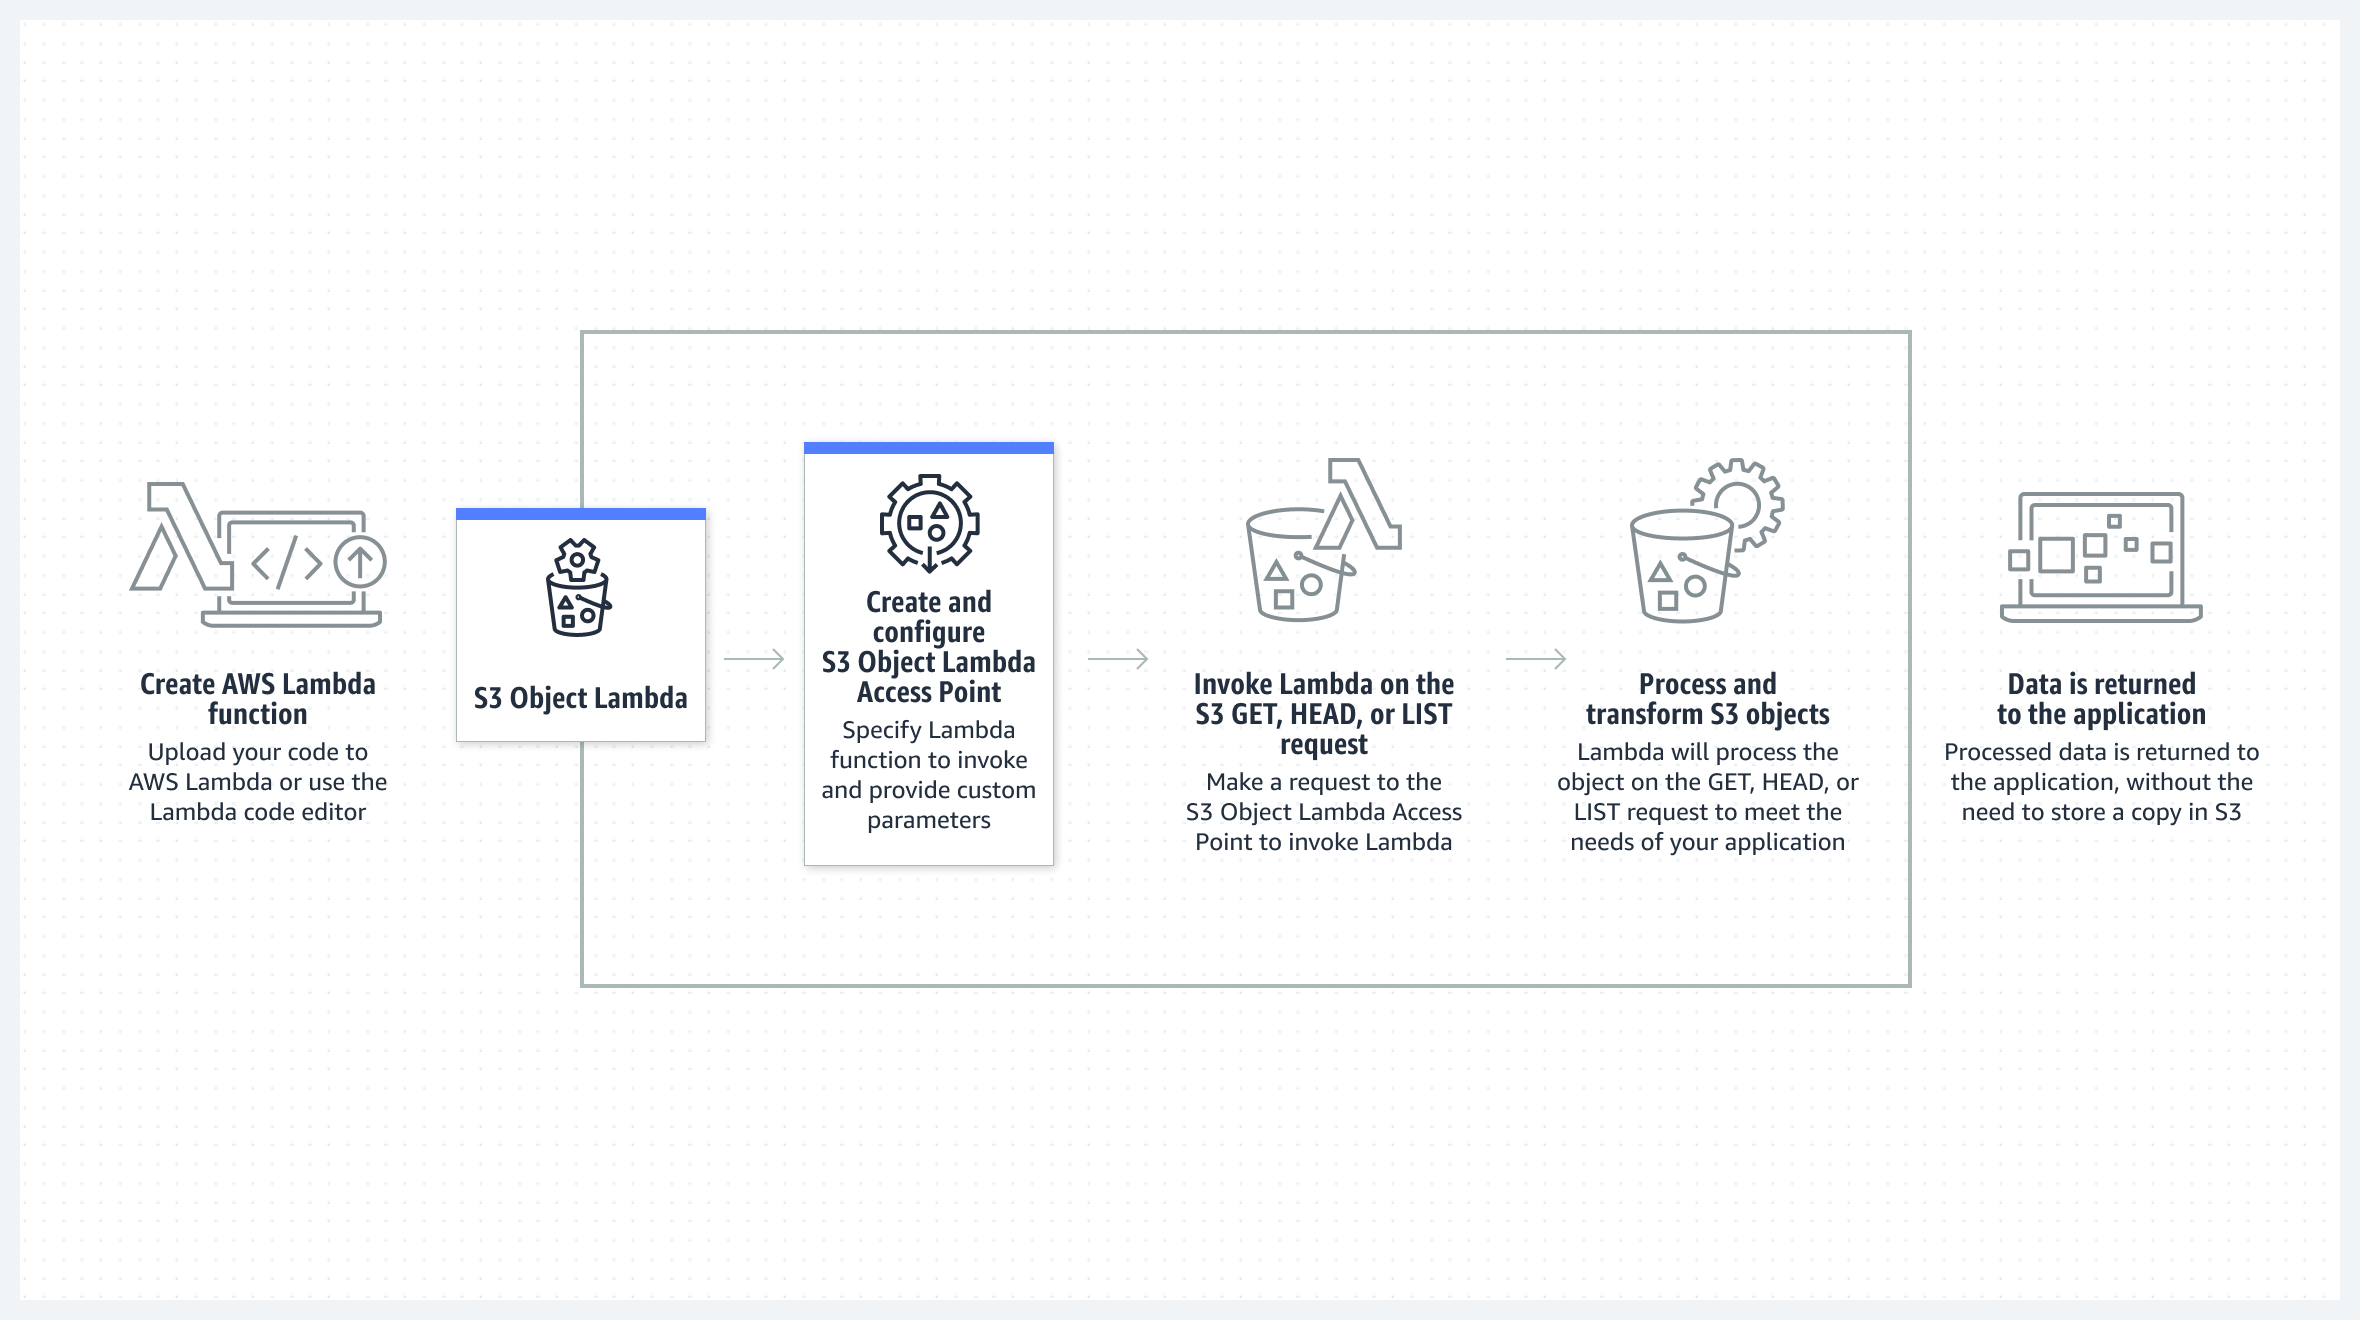
- S3 Object Lambda integrates with AWS Lambda, which allows you to write custom code using various programming languages, including Python and JavaScript.
- When a request is made to retrieve an object from S3, the request is routed to your Lambda function, which can modify the object data or metadata before returning it to the requester.
- AWS Account
- S3 Bucket
- Lambda Function
- AWS CLI
- Permissions


- In the left navigation pane of the Amazon S3 menu, click on "Buckets."
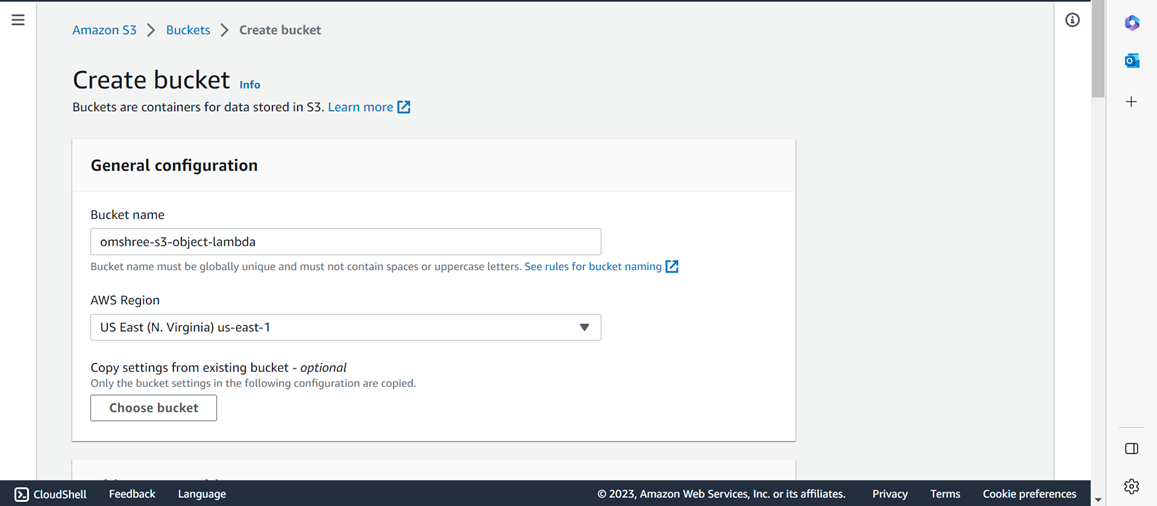
- Click on the "Create bucket" button.
- Provide a unique and descriptive name for your bucket in the "Bucket name" field. Ensure it is globally unique.
- Choose the AWS Region where you want the bucket to be created. Note that another resource in this tutorial will need to be in the same AWS Region.
- You can keep the default selections for the remaining options.
- Scroll down to the bottom of the page and click on "Create bucket”.
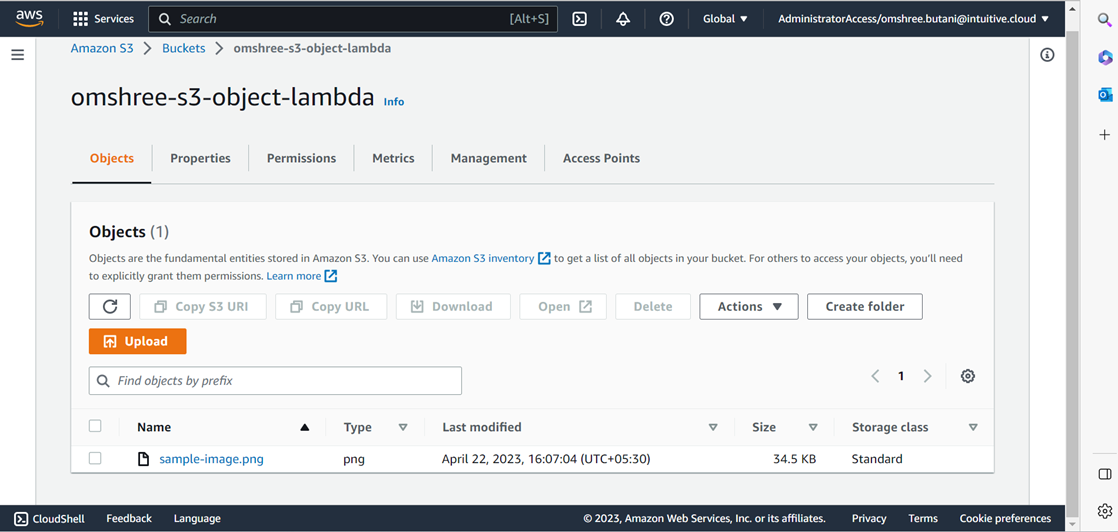
- Click on the "Add files" button and select the desired image from your file browser.
- Scroll down the page and click on the "Upload" button.
- Once the upload is complete and successful, click on the "Close" button.
- Open the S3 console and click on the "Access Points" option in the left sidebar.
- Click on the "Create access point" button.
- In the "Properties" section, provide a name for the access point and click the "Browse S3" button to select the desired bucket name entered in Step 1.
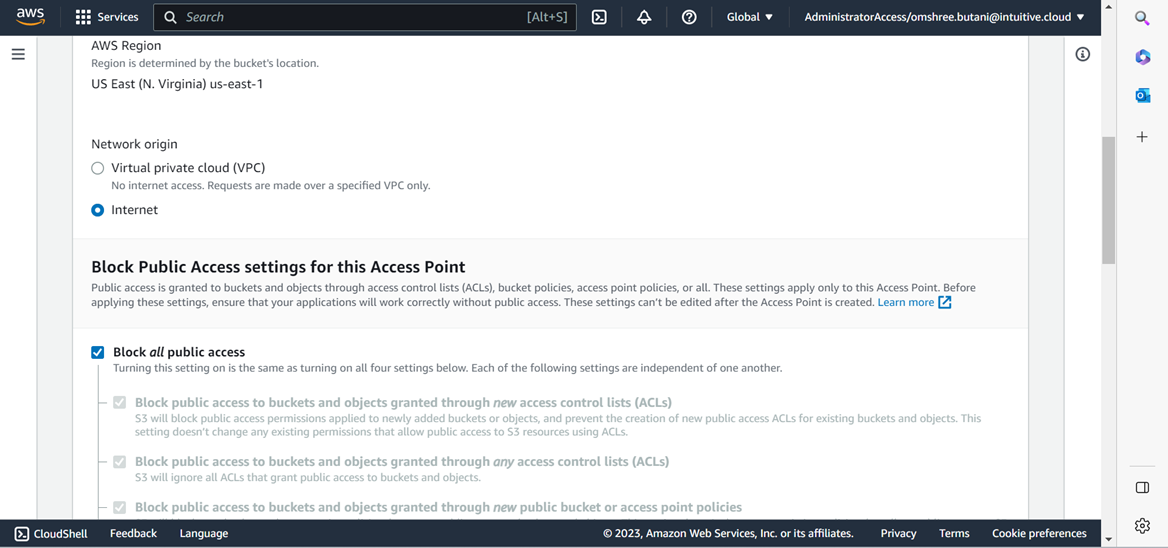
- Set the "Network origin" to "Internet" while leaving all other settings at their default values.
- Scroll to the bottom of the page and click the "Create access point" button.
- After creation, the S3 Access Point will be visible in the list when you navigate to the "Access Points" section in the left sidebar.

- Execute the provided code in CloudShell to set up the environment and deploy the Lambda layer containing the Pillow module.
- Simply copy and paste the following code into CloudShell to install the necessary dependencies and deploy the Lambda function.
# Install the required libraries to build new pythonsudo yum install gcc openssl-devel bzip2-devel libffi-devel -y# Install Pyenvcurl https://pyenv.run | bashecho 'export PYENV_ROOT="$HOME/.pyenv"' >> ~/.bash_profileecho 'export PATH="$PYENV_ROOT/bin:$PATH"' >> ~/.bash_profileecho 'eval "$(pyenv init -)"' >> ~/.bash_profilesource ~/.bash_profile# Install Python version 3.9pyenv install 3.9.13pyenv global 3.9.13# Build the pillow Lambda layermkdir pythoncd pythonpip install pillow -t .cd ..zip -r9 pillow.zip python/aws lambda publish-layer-version \--layer-name Pillow \--description "Python Image Library" \--license-info "HPND" \--zip-file fileb://pillow.zip \--compatible-runtimes python3.9 - Obtain a TrueType font that will be utilized by the Lambda function for watermarking images.
- Simply copy and paste the provided commands into CloudShell to download the font.
wget https://m.media-amazon.com/images/G/01/mobile-apps/dex/alexa/branding/Amazon_Typefaces_Complete_Font_Set_Mar2020.zipunzip -oj Amazon_Typefaces_Complete_Font_Set_Mar2020.zip "Amazon_Typefaces_Complete_Font_Set_Mar2020/Ember/AmazonEmber_Rg.ttf" - Create the Lambda code for handling the requests made to the S3 Object Lambda for processing.
cat << EOF > lambda.pyimport boto3import jsonimport osimport loggingfrom io import BytesIOfrom PIL import Image, ImageDraw, ImageFontfrom urllib import requestfrom urllib.parse import urlparse, parse_qs, unquotefrom urllib.error import HTTPErrorfrom typing import Optionallogger = logging.getLogger('S3-img-processing')logger.addHandler(logging.StreamHandler())logger.setLevel(getattr(logging, os.getenv('LOG_LEVEL', 'INFO')))FILE_EXT = {'JPEG': ['.jpg', '.jpeg'],'PNG': ['.png'],'TIFF': ['.tif']}OPACITY = 64 # 0 = transparent and 255 = full soliddef get_img_encoding(file_ext: str) -> Optional[str]:result = Nonefor key, value in FILE_EXT.items():if file_ext in value:result = keybreakreturn resultdef add_watermark(img: Image, text: str) -> Image:font = ImageFont.truetype("AmazonEmber_Rg.ttf", 82)txt = Image.new('RGBA', img.size, (255, 255, 255, 0))if img.mode != 'RGBA':image = img.convert('RGBA')else:image = imgd = ImageDraw.Draw(txt)# Positioning Textwidth, height = image.sizetext_width, text_height = d.textsize(text, font)x = width / 2 - text_width / 2y = height / 2 - text_height / 2# Applying Textd.text((x, y), text, fill=(255, 255, 255, OPACITY), font=font)# Combining Original Image with Text and Savingwatermarked = Image.alpha_composite(image, txt)return watermarkeddef handler(event, context) -> dict:logger.debug(json.dumps(event))object_context = event["getObjectContext"]# Get the presigned URL to fetch the requested original object# from S3s3_url = object_context["inputS3Url"]# Extract the route and request token from the input contextrequest_route = object_context["outputRoute"]request_token = object_context["outputToken"]parsed_url = urlparse(event['userRequest']['url'])object_key = parsed_url.pathlogger.info(f'Object to retrieve: {object_key}')parsed_qs = parse_qs(parsed_url.query)for k, v in parsed_qs.items():parsed_qs[k][0] = unquote(v[0])filename = os.path.splitext(os.path.basename(object_key))# Get the original S3 object using the presigned URLreq = request.Request(s3_url)try:response = request.urlopen(req)except HTTPError as e:logger.info(f'Error downloading the object. Error code: {e.code}')logger.exception(e.read())return {'status_code': e.code}if encoding := get_img_encoding(filename[1].lower()):logger.info(f'Compatible Image format found! Processing image: {"".join(filename)}')img = Image.open(response)logger.debug(f'Image format: {img.format}')logger.debug(f'Image mode: {img.mode}')logger.debug(f'Image Width: {img.width}')logger.debug(f'Image Height: {img.height}')img_result = add_watermark(img, parsed_qs.get('X-Amz-watermark', ['Watermark'])[0])img_bytes = BytesIO()if img.mode != 'RGBA':# Watermark added an Alpha channel that is not compatible with JPEG. We need to convert to RGB to saveimg_result = img_result.convert('RGB')img_result.save(img_bytes, format='JPEG')else:# Will use the original image format (PNG, GIF, TIFF, etc.)img_result.save(img_bytes, encoding)img_bytes.seek(0)transformed_object = img_bytes.read()else:logger.info(f'File format not compatible. Bypass file: {"".join(filename)}')transformed_object = response.read()# Write object back to S3 Object Lambdas3 = boto3.client('s3')# The WriteGetObjectResponse API sends the transformed dataif os.getenv('AWS_EXECUTION_ENV'):s3.write_get_object_response(Body=transformed_object,RequestRoute=request_route,RequestToken=request_token)else:# Running in a local environment. Saving the file locallywith open(f'myImage{filename[1]}', 'wb') as f:logger.debug(f'Writing file: myImage{filename[1]} to the local filesystem')f.write(transformed_object)# Exit the Lambda function: return the status codereturn {'status_code': 200}EOF - Create the IAM role that will be attached to the Lambda function.
aws iam create-role --role-name ol-lambda-images --assume-role-policy-document '{"Version": "2012-10-17","Statement": [{"Effect": "Allow", "Principal": {"Service": "lambda.amazonaws.com"}, "Action": "sts:AssumeRole"}]}' - Attach a predefined IAM policy with the previously created IAM role.
- This policy contains the minimum permissions needed to execute the Lambda function.
aws iam attach-role-policy --role-name ol-lambda-images --policy-arn arn:aws:iam::aws:policy/service-role/AmazonS3ObjectLambdaExecutionRolePolicyexport OL_LAMBDA_ROLE=$(aws iam get-role --role-name ol-lambda-images | jq -r .Role.Arn)export LAMBDA_LAYER=$(aws lambda list-layers --query 'Layers[?contains(LayerName, `Pillow`) == `true`].LatestMatchingVersion.LayerVersionArn' | jq -r .[]) - Create and upload the Lambda function
aws lambda create-function --function-name ol_image_processing \--zip-file fileb://lambda.zip --handler lambda.handler --runtime python3.9 \--role $OL_LAMBDA_ROLE \--layers $LAMBDA_LAYER \--memory-size 1024


- Reduced data transfer costs
- Improved performance and reduced latency
- Simplified application architecture
- Ability to apply custom logic to retrieved data
- When utilizing S3 Object Lambda, you incur costs based on the amount of data that is delivered to you through S3 Object Lambda, with a charge applied per gigabyte.
- Additionally, charges are incurred for the type of requests made (GET, LIST, and HEAD requests), as well as AWS Lambda compute charges for the duration during which your designated function processes the requested data.
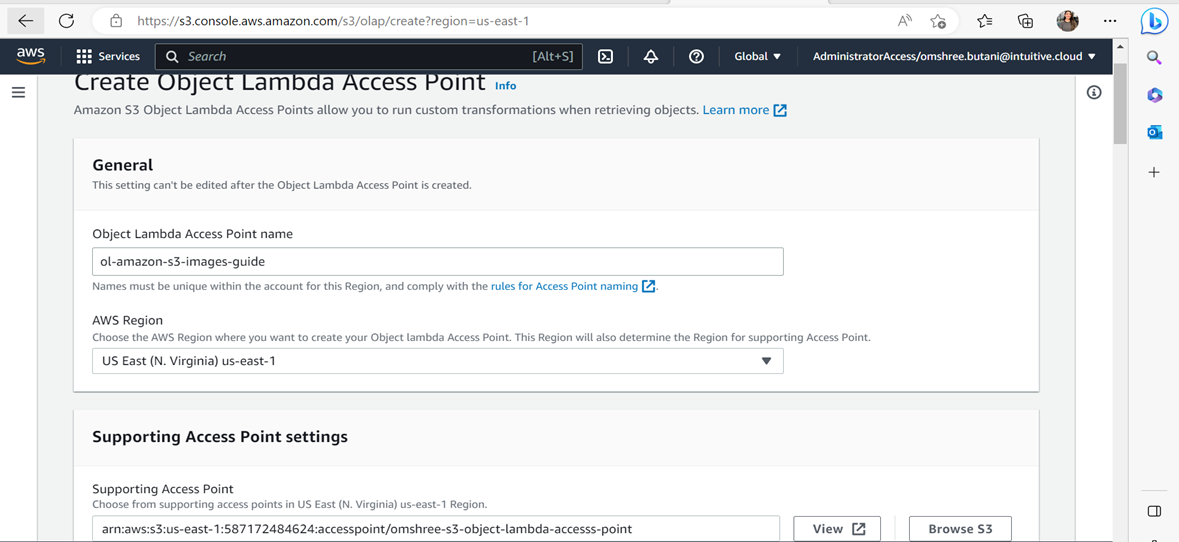
- Go to the S3 console and select "Object Lambda Access Points" from the menu on the left-hand side.
- On the page for Object Lambda Access Points, click on the radio button next to the S3 Object Lambda Access Point that you previously created.
- Finally, click on the "Delete" option.
- Go to the left navigation pane of the S3 console and select "Access Points".
- Locate the S3 Access Point you want to delete and click on the radio button next to its name.
- Select the "Delete" option.
- Access the S3 console and locate the Buckets menu option on the left-hand side. Next, locate the test bucket you have been using in this tutorial and remove the test object within it.
- Simply click on the checkbox beside the name of the test object, followed by selecting the Delete button.
- Navigate to the S3 console menu on the left-hand side and click on "Buckets".
- From there, locate the source bucket you established specifically for this tutorial and mark the radio button on its left side. Finally, proceed by clicking on the "Delete" button.
- Access the AWS Lambda console.
- Navigate to the "Functions" section in the left sidebar.
- Locate the function you created and mark the checkbox next to its name.
- Click on "Actions" and then select "Delete.
